Neon Abyss 2 Beginner Guide: First Runs & Progression
A Neon Abyss 2 beginner guide for 1.0: how runs work, which faith to pick, boss unlock order, Hatchmons, difficulty settings and how to progress fast.
Neon Abyss 2 is easy to pick up but easy to waste time in if you don't understand its progression. This beginner guide covers what your first hours should look like: how the main mode is structured, how to choose a faith, which bosses to chase first, and which systems you can safely ignore early on. Everything here reflects the 1.0 full release from October 8, 2026.
Understand the Core Loop Before Anything Else
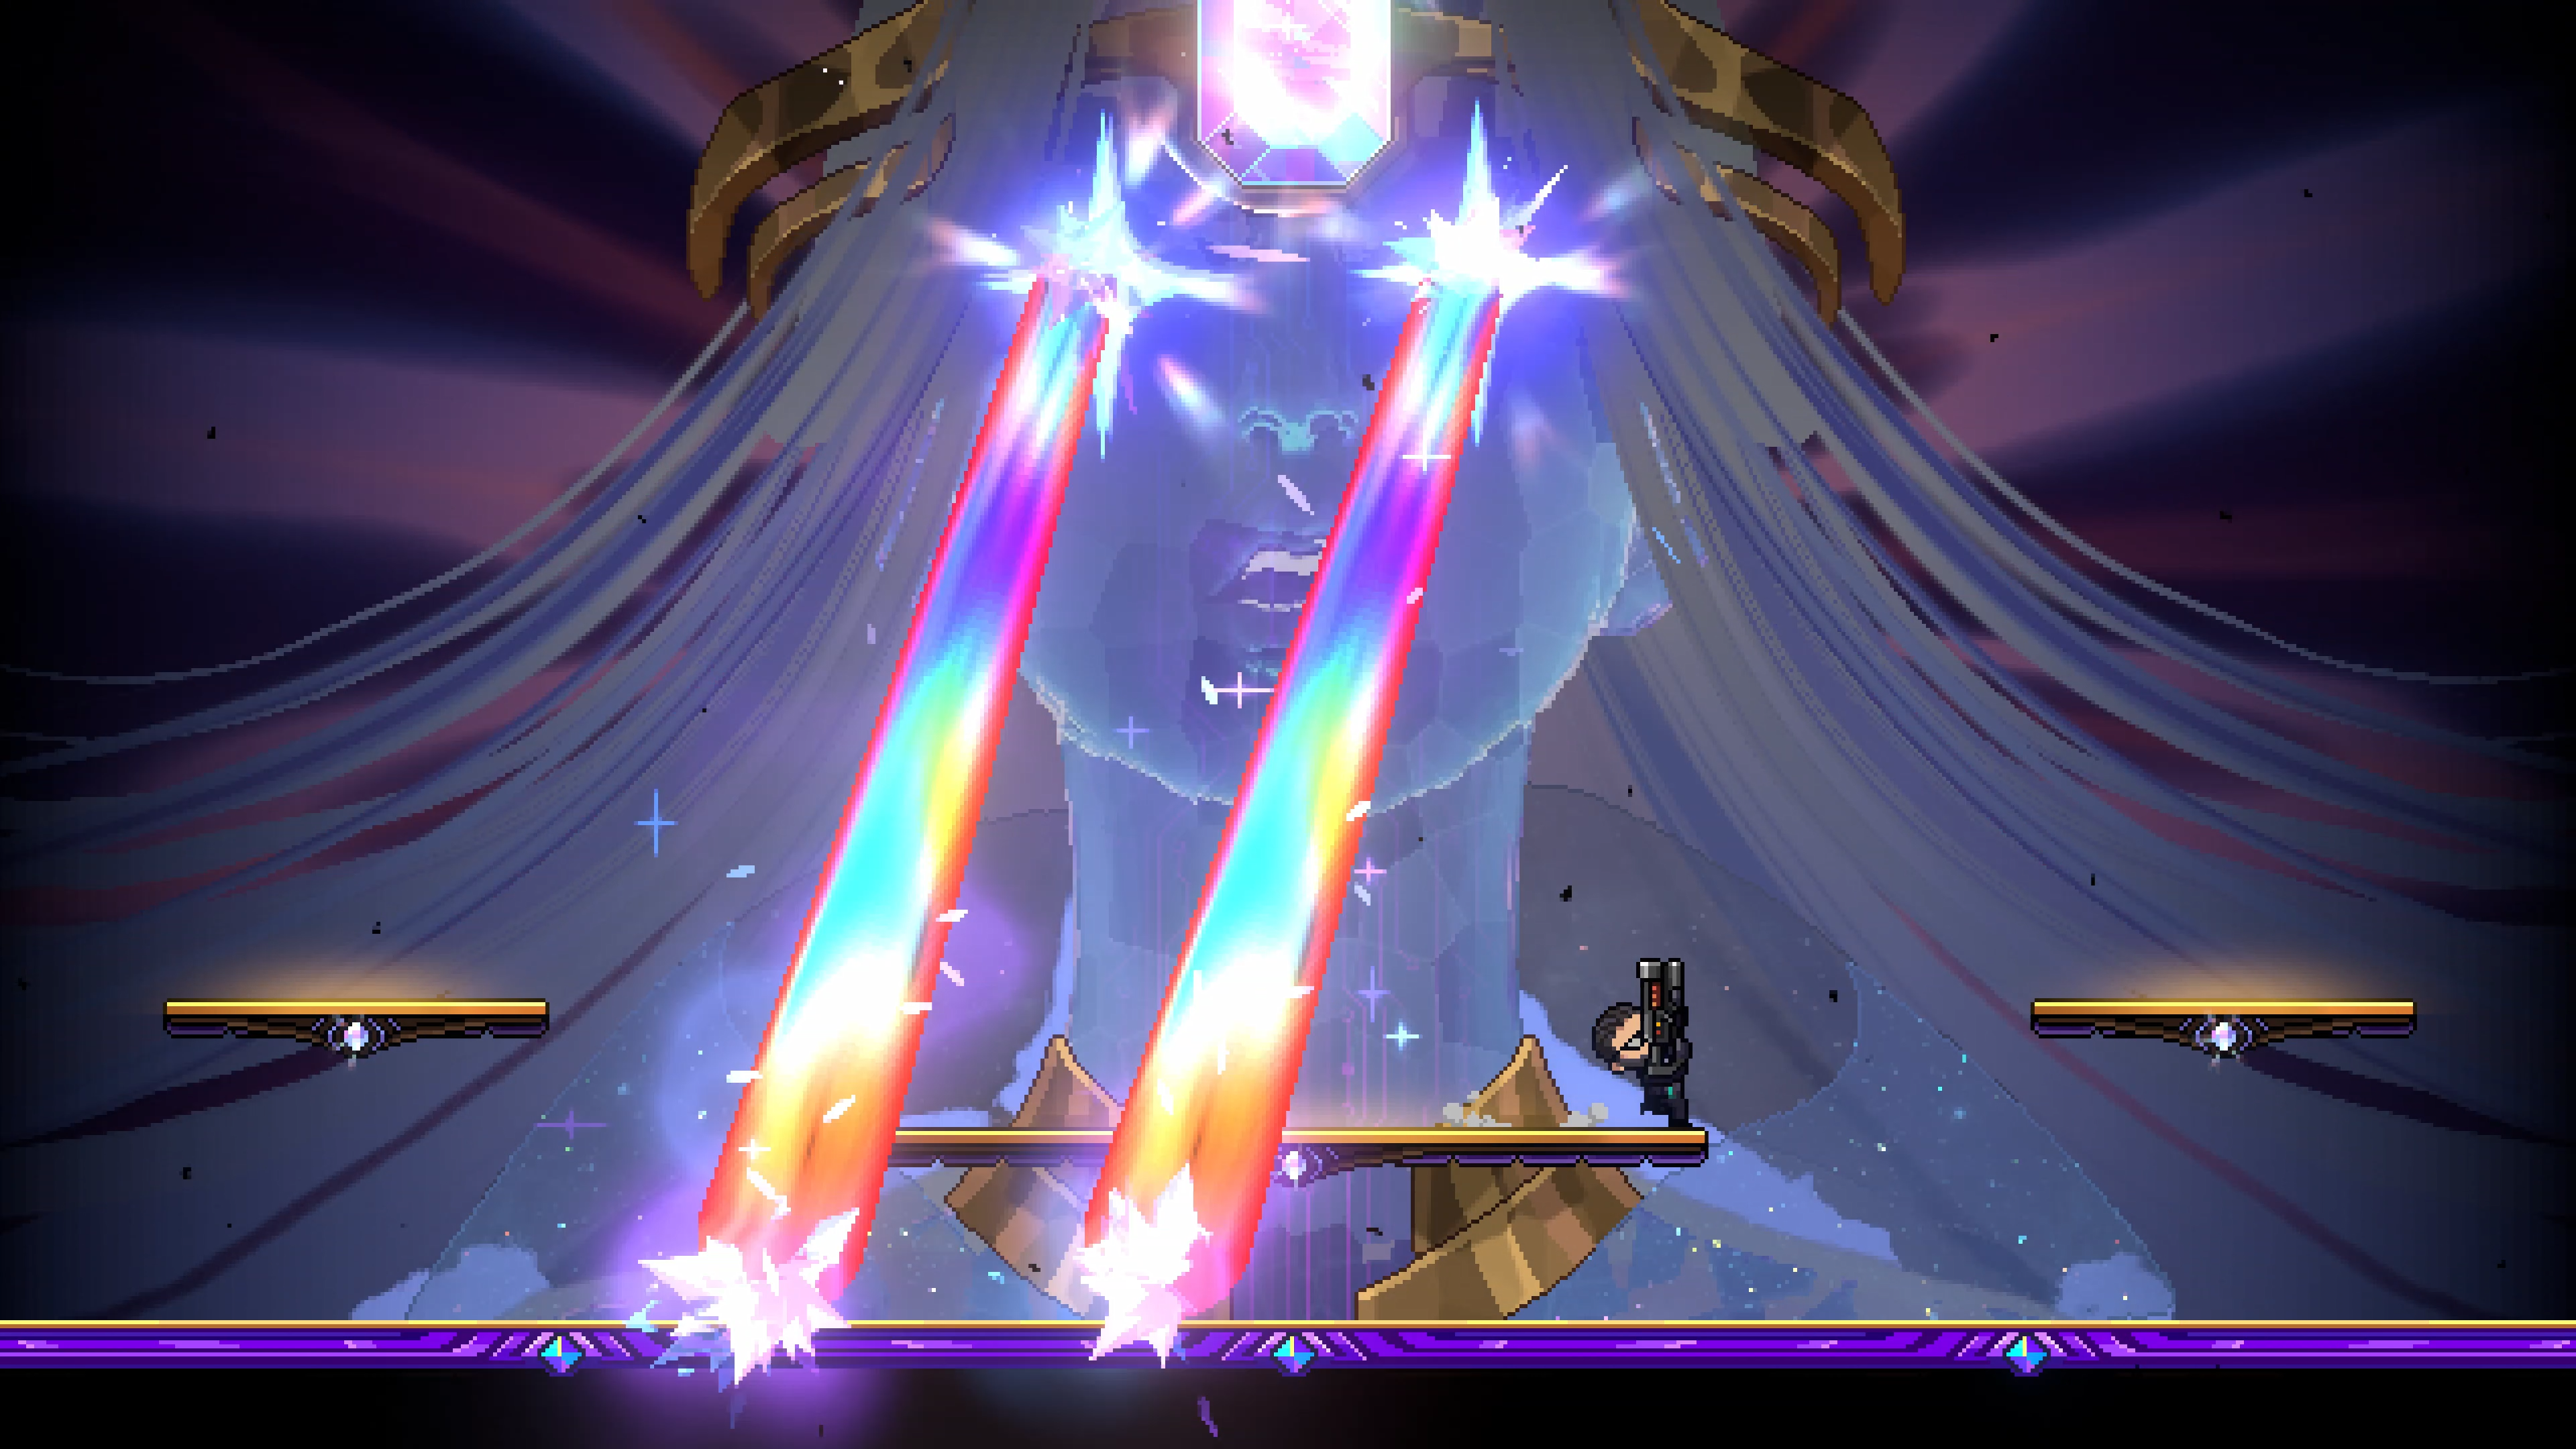
Neon Abyss 2 is a platformer roguelite set in a "cybermyth" world where you fight new and old gods. A run starts at the bar hub: pick an agent, choose a mode, and dive in. In the main mode you clear rooms for rewards and can freely explore an entire biome before committing to its boss. That freedom is the biggest early decision you'll face — do you push the boss now, or grind rooms for currency, weapons and upgrades first?
A full run can take up to around 45 minutes, so don't feel obligated to finish every run when you're learning. Deaths are expected and each run feeds meta-progression: new items, agent unlocks and evolution-tree points. If a 45-minute run sounds intimidating, try Storm Raid, the faster mode added in 1.0, where the game serves stages sequentially along chosen routes with no freeform exploration.
Difficulty is part of the same early decision. The game asks you to confirm a difficulty when starting a run, and community feedback on co-op difficulty has been consistent: Normal feels on the easy side for experienced players, while Hard is the better match for challenge seekers. As a beginner, just pick Normal and leave it alone — switching back and forth muddies how quickly you learn boss patterns. Pay attention to the Fate system when it unlocks, too, since starting health and shield values are influenced by it; knowing that tougher starts come bundled with better rewards helps you plan when to step up.
Learn Faith Rooms and Start With a Reliable Faith
Each floor features a semi-randomized temple tied to one of eight faiths. Taking a faith starts a faith bar that you fill through interactions — gambling machines, shops or room-specific activities — which then opens that faith's room and rewards. Faiths matter both for loot and for progression: you must carry an uncompleted faith when you beat Apollo to reach Eris's floor, so don't always finish your faith bar before the Apollo fight.
For floor-one choices, the community consensus is clear: Agapeism is the most consistent pick and an S-tier start on any character. Consumerism is a strong A-tier alternative because it's the easiest to trigger and guarantees coin income. Fortunism is widely considered a weak first-floor pick since filling its meter costs 60–80 coins — most of what you'll have. Faith rooms also contain machines that can explode and damage you, so learn the room layout before interacting.
Master Weapons and Their Affixes
Weapons are where Neon Abyss 2 gets fun. As you upgrade a weapon, it gains affixes — modifiers that add flat damage, extra projectiles, extra range, or effects that trigger on hit. Don't hoard a favorite weapon too early; compare affixes each time and swap freely, because a higher-level weapon with a useful affix almost always outperforms a comfortable low-level one.
One beginner trap: explosions and friendly fire can kill your Hatchmons, the baby companions that hatch from eggs after combat rooms. If you like pet builds, position yourself away from your pets when using grenades. Collecting two of the same Hatchmon fuses them into a Super Pet with upgraded abilities, so prioritize eggs early in a run if you're going down that path.
Follow the Boss Unlock Chain
Bosses gate each other, and knowing the order saves you hours. The main chain runs Trojan → Talos → Apollo → Eris → Dark Eris → Hyperion. Dark Eris requires you to have beaten regular Eris at least once, and Hyperion requires a prior Dark Eris kill — note that fighting Dark Eris ends the run once she falls, so plan which Eris you fight in a given run. Separately, Athena and Prometheus require you to first defeat Zeus/Athena before they become available.
In Early Access some of these requirements were discovered by trial and error, but the 1.0 update added an agent-files boss route map that shows challenge routes, node details and unlock states. Check it after each successful run and pick your next target deliberately rather than randomly.
Learn the Economy Before You Spend It
A few mechanics the game explains poorly can save you a lot of resources here. Wonder Jars are carried items — press Q to take one out or put it away, and F to unleash its power on standard keyboard controls. When you meet the Smiling Merchant, you can long-press to pay with coins instead of your current resource type if the asking price doesn't suit you.
New players burn coins fast on gambling machines and wonder what they got for it. Slow down. Coins serve several purposes — shops, gambling interactions, faith-room entry costs and merchant rerolls — and floor one usually nets you somewhere between 50 and 120 coins depending on your route. Before you spend, decide what your run needs: a weapon upgrade, a Hatchmon egg, or faith progress. Spending with intent beats spending reflexively.
Keys and bombs follow the same logic. Keys open locked rooms that often hide better rewards than the free path, while bombs smash open walls and reveal shortcuts. If you find an artifact that converts one resource into another, read it carefully — conversion items are usually the backbone of strong economy builds. And when the Smiling Merchant asks for a resource you're short on, reroll his price with coins rather than paying in something you'll miss later.
Track Your Meta-Progression After Every Run
Deaths in Neon Abyss 2 are deposits, not losses. After each run ends, check three things at the bar: your evolution tree points (spend them toward systems you actually use), any newly unlocked items or agents, and the agent-files boss route map added in 1.0, which shows challenge routes, node details and unlock states. Picking your next boss target deliberately — rather than repeating whatever you already beat — is the difference between players who unlock the full boss chain in a week and players who grind the same floor for a month.
Keep an eye on what 1.0 added to progression, too. The update reworked several item suits and expanded weapon affixes, which means older community build advice from Early Access may be outdated. The random agent (???) is a fun way to test unfamiliar characters with a bonus treasure attached. And remember that Steam achievements only arrived with 1.0, so achievements you'd already earned unlocked automatically — nothing you did in Early Access was wasted, and your save carried forward into 1.0.
Related Guides
- Neon Abyss 2 Tips: Faith Tiers & Wonder Jars — the full community faith tier ranking.
- Neon Abyss 2 Wiki: Systems Hub — every core system in one reference page.
- Neon Abyss 2 Co-op Guide — bring friends into the Abyss the right way.
Related Guides
Neon Abyss 2 Tips: Faith Tiers, Wonder Jars & Builds
15 practical Neon Abyss 2 tips: the community faith tier list with Agapeism on top, Wonder Jar controls, merchant tricks, Hatchmon fusion and build advice.
Neon Abyss 2 Wiki: Complete Player Guide & Systems Hub
Your Neon Abyss 2 wiki hub: core systems, faith tiers, bosses, Wonder Jars, Hatchmons and co-op explained for the 1.0 full release on PC and consoles.